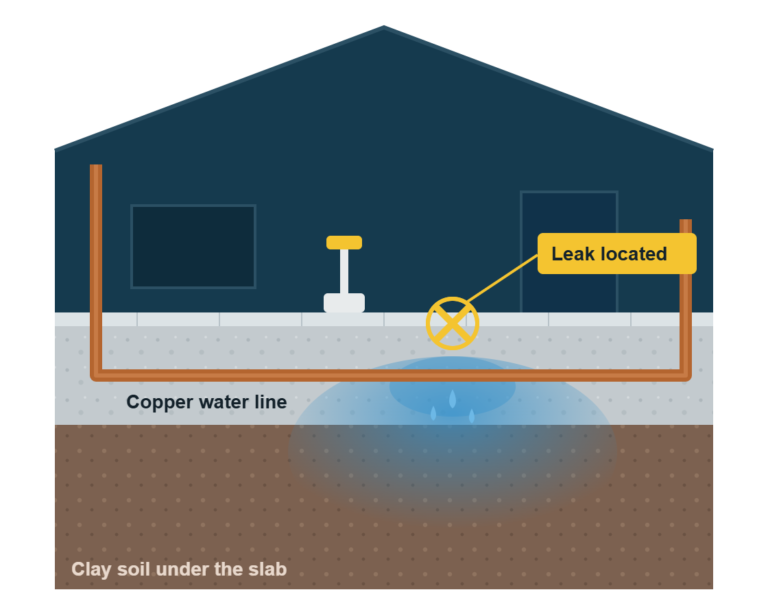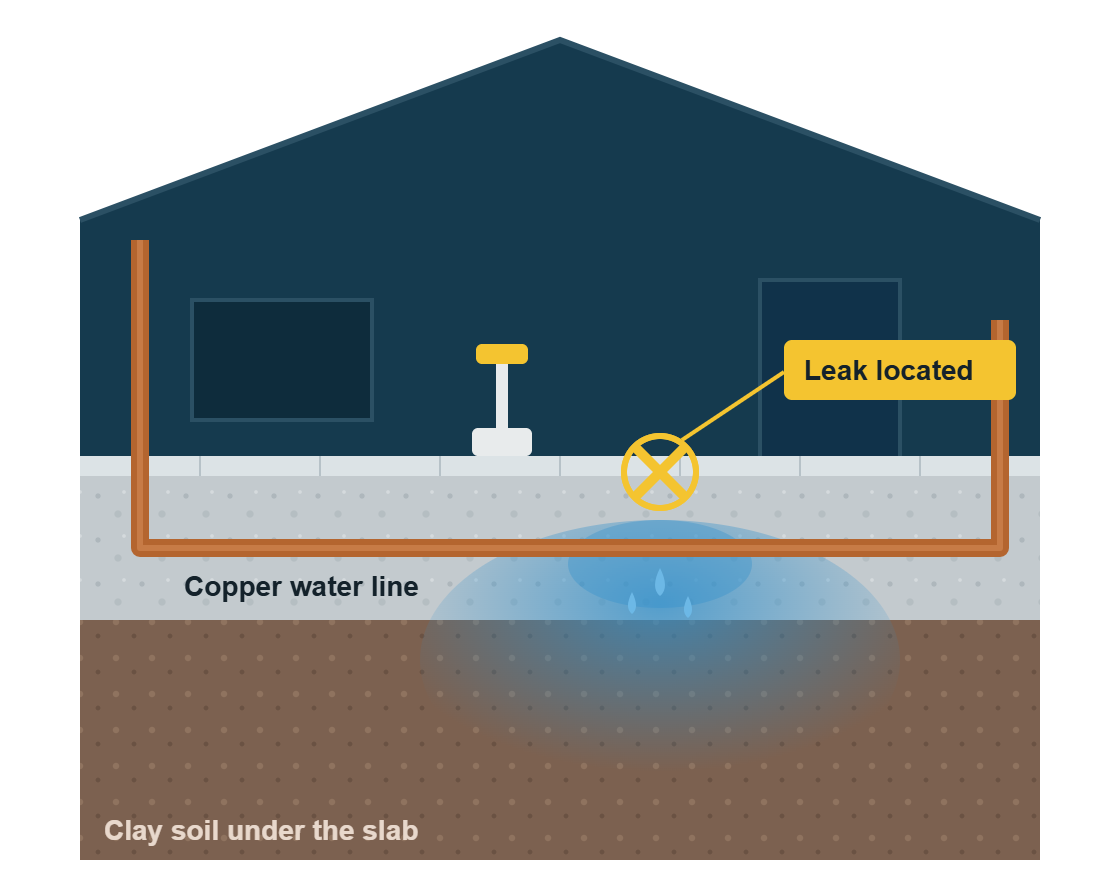
How to Find a Slab Leak: A Step-by-Step Guide for Homeowners
Something isn’t right. Maybe your water bill jumped, or a patch of tile feels warm, or you hear water moving when the house is quiet. You suspect a leak under the concrete, but you can’t see it, and you don’t want anyone breaking your floor on a hunch.
Here’s the honest truth about finding a slab leak: you can do more than you think, but not everything. With a few simple tests, most homeowners can confirm a leak, figure out whether it’s inside or outside the house, and even tell whether it’s on the hot or cold side. What you can’t do is pinpoint the exact spot under a concrete floor without specialized equipment.
This guide walks you through every step you can take yourself, in the right order, and explains what happens when it’s time to bring in a pro.
What You’ll Need
Step 1: Rule Out the Easy Stuff First
Before hunting for a leak under your floor, make sure it isn’t something simpler. These are the most common “fake slab leaks”:
Our guide to high water bills in Temecula walks through each of these. If one of them explains your problem, you’re done, and it’s a much cheaper fix.
Step 2: Confirm the Leak With Your Water Meter
This tells you, for certain, whether water is escaping.
Turn off every faucet, appliance, and your irrigation. Make sure nobody uses water during the test.
Find your water meter, usually in a box near the curb.
Look at the leak indicator, a small triangle, star, or dial that spins with even tiny water flow.
Watch it for a few minutes.
If it’s moving, water is leaving your system somewhere. Keep going.
If it’s still, you likely don’t have an active leak on your side of the meter.
Step 3: Inside the House or Outside?
Find the main shutoff valve where the water line enters your house, often near a front hose bib or in the garage, and close it. Then check the meter again.
Step 4: The Pressure Drop Test (Your Most Useful DIY Check)
This simple test, using a pressure gauge, gives you a clearer answer than the meter alone, and it’s something most homeowners never try.
How to do it:
Screw the pressure gauge onto an outdoor hose bib that’s connected to the house side of your plumbing.
Open the hose bib and note the pressure reading.
Close your house’s main shutoff valve.
Watch the gauge for 15 to 30 minutes without using any water.
What it tells you:
Narrow it further: If the pressure drops, close the small shutoff valves (called angle stops) behind each toilet and repeat the test. If the pressure now holds, a toilet was the culprit. If it still drops, the leak is somewhere in the pipes themselves, possibly under the slab.
Bonus: That first reading also tells you your home’s water pressure. Plumbing codes generally call for a pressure regulator when pressure goes above 80 psi, and high pressure puts extra stress on pipes. If yours reads high, mention it to your plumber.
One caution: This test only works if your main shutoff valve closes completely. An old valve that doesn’t fully seal can let water keep flowing in and hide a pressure drop.
Step 5: Hot Side or Cold Side?
With the main valve open again:
Find the cold water inlet valve on the pipe going into the top of your water heater.
Close it gently, without forcing an old, stiff valve.
Check the meter (or repeat the pressure test).
This one step cuts the search area roughly in half.
Step 6: Use Your Senses to Narrow It Down
Now walk the house with your floor plan sketch and mark anything unusual.
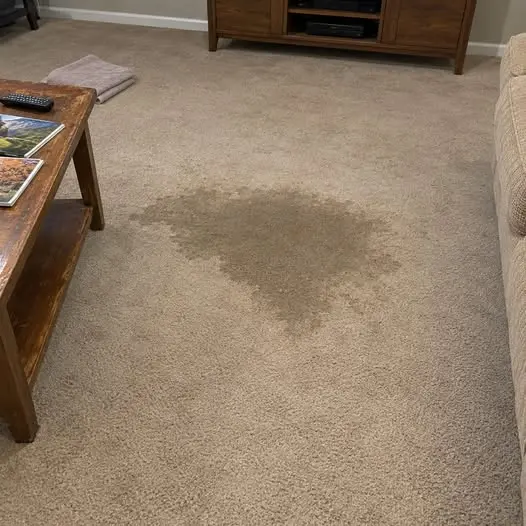
Feel: Walk barefoot over tile and hard floors, especially near bathrooms, the kitchen, and the laundry room. A warm spot often points to a hot water leak beneath it. (See warm spot on floor: is it a slab leak?)
Listen: Wait until the house is quiet, ideally at night with everything off. Put your ear close to the floor or the base of walls. A faint hiss or trickle is worth marking.
Look:
Smell: A musty odor that lingers in one room or closet can mean moisture is trapped below.
When you’re done, look at your sketch. A cluster of clues in one part of the house is very helpful information to pass on.
Step 7: Is It Under the Slab, or Somewhere Else?
Not every hidden leak is a slab leak. Here’s how the clues usually line up:
If your clues point to walls or ceilings, our water leak detection page covers those.
Why You Can’t Pinpoint a Slab Leak Yourself
By now, you may know that you have a leak, whether it’s inside, and which side it’s on. So why not just find the spot and start digging?
That’s exactly what professional slab leak detection is for. (Here’s how plumbers find slab leaks.)
How Professionals Find the Exact Spot
A good leak detection visit follows the same logic you just used, but with tools that can see and hear through concrete:
Confirm the leak with the meter and pressure readings.
Isolate it to one line: hot or cold, and sometimes down to a specific branch.
Pinpoint the location. Common methods include:
Mark the spot so any repair needs only one targeted opening.
At Temecula Leak Experts, a standard detection visit takes 1 to 3 hours, and you get a written report with the leak’s location and your repair options (see spot repair vs. reroute vs. repipe). Learn more about slab leak detection →
A Technician’s Experience: The Leak Wasn’t Where the Water Appeared
A homeowner in Temecula noticed a warm spot on their kitchen floor and assumed the leak was directly underneath it. However, when the plumbing system was checked, the suspected area didn’t match the actual source of the leak. Further testing showed that hot water had travelled beneath the concrete before reaching the warm spot. The leak was located several feet away from where the homeowner first noticed the problem. This is why we always recommend locating a slab leak accurately before breaking through concrete.
Common Mistakes When Looking for a Slab Leak
When to Call a Professional
Call for slab leak detection if:
If water is actively coming up through the floor, don’t wait. Follow our slab leak emergency guide and shut off your main water first.
Frequently Asked Questions
Your Slab Leak Checklist
Narrowed it down and ready for an exact answer?
Call Temecula Leak Experts at 1 (951) 355-0459. Share what you found, including your meter and pressure test results, and we’ll take it from there.