How Do Plumbers Find Slab Leaks? Acoustic, Thermal, Tracer Gas & More
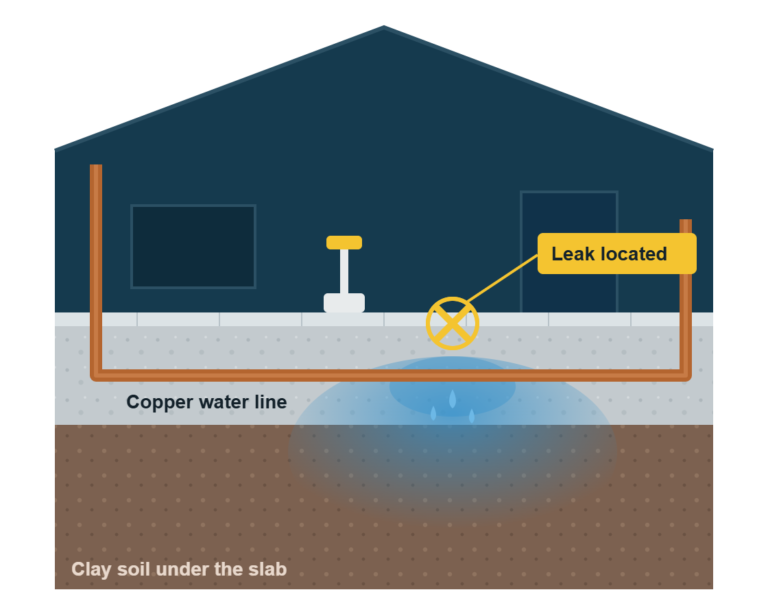
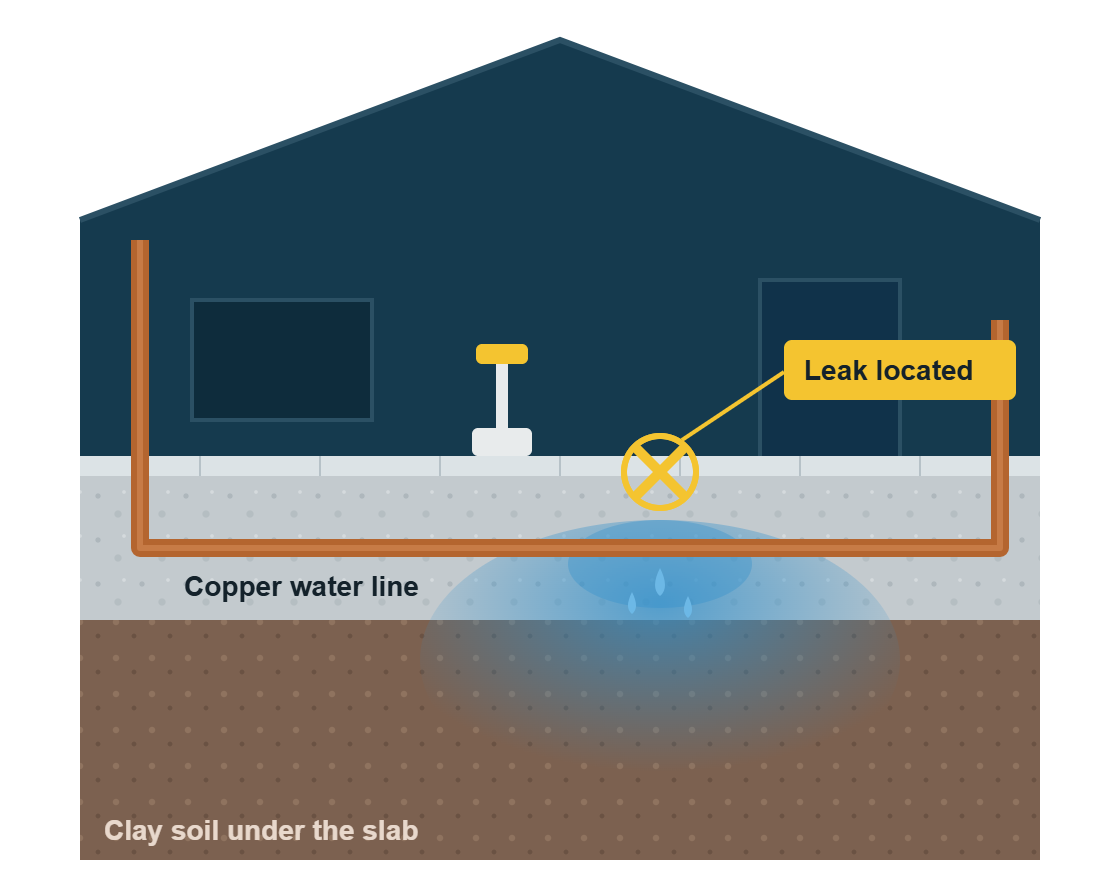
A leak somewhere under several inches of concrete. No visible water. No way to look inside. And yet a good leak detection technician can walk into your home and, a few hours later, mark a spot on your floor and say, “It’s right here.”
How?
It isn’t magic, and it isn’t one special gadget. It’s a process of elimination combined with tools that can hear, see, or smell what’s happening under the slab. This guide explains exactly how professionals find slab leaks, what each method is good at, where each one falls short, and what that means for your home.
The Short Answer
Professionals find slab leaks in four stages:
Confirm that water is actually leaking
Isolate the leak to one part of the plumbing (hot or cold, a specific branch)
Pinpoint the exact location using tools like acoustic listening, thermal imaging, or tracer gas
Mark the spot so any repair needs just one small opening
No single tool works in every home. The best results come from combining methods, each one checking the others.
Stage 1: Confirm There’s Actually a Leak
Before any specialized equipment comes out, a technician confirms the basics:
Plenty of calls that start as “slab leak” end here, with a running toilet or a stuck sprinkler valve. That’s a good outcome.
Want to try this part yourself? See our step-by-step guide to finding a slab leak.
Stage 2: Isolate the Leak
Once a leak is confirmed, the next goal is to shrink the search area.
Hot side or cold side?
Closing the cold water inlet on the water heater separates the two. If the leak stops, it’s on the hot side. This one step cuts the search area roughly in half. Learn more about hot water slab leaks.
Supply line or drain?
Supply lines are always under pressure. Drains aren’t. A pressure test on the supply system tells them apart:
Which branch?
In some homes, technicians can close individual valves or isolate sections of pipe to narrow it down further.
By the end of this stage, the technician usually knows which line is leaking, and is ready to find where on that line.
Stage 3: Pinpoint the Exact Spot
This is where the specialized equipment comes in. Here are the main methods professionals use.
Acoustic Leak Detection
How it works: Water escaping from a pressurized pipe makes a sound: a hiss, a whoosh, or a vibration. Sensitive microphones and amplifiers pick up that sound, either from the floor surface or by listening directly on accessible parts of the pipe. The sound is loudest closest to the leak.
Best for:
Limitations:
Thermal Imaging (Infrared)
How it works: An infrared camera shows temperature differences across a surface. When a hot water line leaks under a slab, it can warm the concrete above it, which shows up as a warm area on the camera. (Noticed one yourself? Read how to check a warm spot on your floor.)
Best for:
Limitations:
Tracer Gas
How it works: The water line is drained or pressurized with a safe gas mixture, usually 5% hydrogen and 95% nitrogen. Hydrogen is the smallest, lightest molecule, so it escapes through even tiny openings and rises up through soil and concrete. A sensitive detector picks up the gas at the surface, with the highest reading closest to the leak.
Best for:
Limitations:
Is it safe? Yes. The hydrogen and nitrogen mixture used for leak detection is non-toxic, non-flammable, and non-corrosive.
Supporting Tools
These don’t usually find a slab leak on their own, but they help confirm what the main methods show:
Acoustic vs. Thermal vs. Tracer Gas: Side by Side
Method
Acoustic listening
Detects: Sound of escaping water
Works best on: Pressurized copper lines
Main limitation: Needs noise; weaker on plastic pipe; background noise interferes
Method
Thermal imaging
Detects: Temperature differences
Works best on: Hot water line leaks
Main limitation: Needs a temperature difference; concrete can mask it
Method
Tracer gas
Detects: Hydrogen rising to the surface
Works best on: PEX/plastic pipe, small or quiet leaks
Main limitation: More setup; gas needs time to rise
Supporting
Pressure testing
Detects: Whether a line holds pressure
Works best on: Isolating which line is leaking
Main limitation: Confirms which line, not where on it
Supporting
Pipe locator
Detects: The path of a buried pipe
Works best on: Mapping where lines run
Main limitation: Doesn’t find the leak itself
Why the Best Technicians Use More Than One Method
Each method has a blind spot:
Combining methods lets each one check the others. For example, thermal imaging might show a warm area, acoustic listening confirms the leak sound is loudest there, and a pressure test confirms that line is the one losing water. When two or three methods agree, the technician can mark the spot with real confidence.
That confidence is what protects your floor. It’s the difference between one small opening and several exploratory ones.
Copper vs. PEX: Does Your Pipe Type Change the Method?
Yes, it can.
Your pipes
Copper
Acoustic listening is often effective because copper carries sound well. Thermal helps on hot lines.
Your pipes
PEX (plastic)
Acoustic can be weaker. Tracer gas is often a strong option. Thermal still helps on hot lines.
Not sure what your home has? Homes built before 2009 in California often have copper, since PEX entered the statewide plumbing code that year, but not always. Learn more in what causes a slab leak.
How We Find Slab Leaks at Temecula Leak Experts
Most detection visits take 1 to 3 hours. You’ll get a written report with the leak’s location and your repair options. Learn about slab leak detection →
Technician Story
“On one job, we had a hot spot on the floor that looked like it was directly over the leak. Thermal imaging gave us a good starting point, but the heat pattern wasn’t exactly where the leak was located. We used acoustic equipment to listen along the line and were able to identify the strongest leak sound a short distance away. By combining the thermal and acoustic readings, we were able to pinpoint the location without opening multiple areas of the floor.”
How to Help Your Technician Find the Leak Faster
Before the visit, gather what you know:
Also, clear access to your water heater, main shutoff, and the rooms with signs.
Questions to Ask Any Leak Detection Company
Frequently Asked Questions
The Bottom Line
Finding a slab leak is a step-by-step process: confirm, isolate, pinpoint, mark. Acoustic listening, thermal imaging, and tracer gas each have strengths and blind spots, and the most reliable results come from using them together. That’s what lets a technician point to one spot on your floor with confidence, so your repair stays small.
Want the leak found the right way?
Call Temecula Leak Experts at 1 (951) 355-0459. We’ll find exactly where it is, before anything is opened.
Related reading: How to find a slab leak yourself · Spot repair vs. reroute vs. repipe